Understanding the Robots.txt File in Yoast SEO for WordPress
The robots.txt file is an essential component for managing how search engines interact with your website. In this article, we’ll delve into the functionality of the robots.txt file within the Yoast SEO plugin and how to effectively utilize it to enhance your site’s visibility.
Understanding the Robots.txt File
The robots.txt file serves as a guide for search engine crawlers, indicating which parts of your site they can access. By configuring this file properly, you can streamline the crawling process and improve your site’s search engine optimization (SEO). With Yoast SEO, you have an intuitive way to manage these directives.
Default Directives in Yoast SEO
When you install WordPress, it automatically generates a basic robots.txt file containing the following instructions:
User-agent: *
Disallow: /wp-admin/
Allow: /wp-admin/admin-ajax.php
Once you activate Yoast SEO, these directives will be replaced with more comprehensive settings:
# START YOAST BLOCK
# ---------------------------
User-agent: *
Disallow:

Sitemap: https://www.example.com/sitemap_index.xml
# ---------------------------
# END YOAST BLOCK
This setup allows all search engines to crawl your site while also providing a direct link to your sitemap, enhancing the likelihood of efficient indexing, especially by Bing.
Creating or Editing Your Robots.txt File with Yoast SEO
Modifying your robots.txt file through Yoast SEO is straightforward. Follow these steps to get started:
- Log in to your WordPress dashboard.
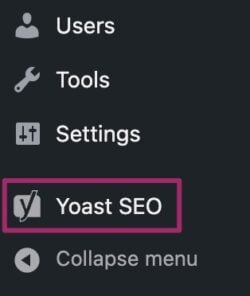
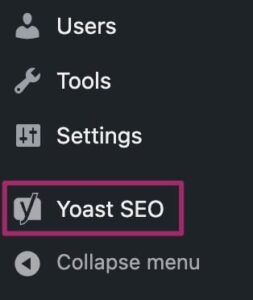
- Navigate to the ‘Yoast SEO’ option in the admin menu.
- Select ‘Tools’ and then click on ‘File Editor’.
- If file editing is enabled, you will see the option to create or edit the robots.txt file. Click on the ‘Create robots.txt file’ button.
- Review the automatically generated directives and make any necessary adjustments.
Editing at the Server Level
If your WordPress installation has file editing disabled or if the robots.txt file is not writable, you can create or edit this file directly on your server:
- Use a text editor to create a new file and save it as
robots.txt. - Upload this file to the root directory of your website. If you’re unsure where to place it, your hosting provider can assist you.
Once the physical file is in place, you should be able to edit it through the Yoast SEO plugin. Alternatively, you can modify it directly using FTP or a file manager provided by your hosting service.
If you encounter difficulties during this process, don’t hesitate to reach out to your web host for support. Understanding and managing your robots.txt file is crucial for optimizing how search engines interact with your site, ensuring that your content is indexed appropriately.

