The Most Common Wi-Fi Mistake You Didn’t Know You Were Making
Navigating the Chaos of Hosting
You’re in the midst of preparing a delicious dinner, searching for extra glasses, and dealing with your cousin’s child constantly asking for the Wi-Fi password. It’s a hectic moment, and the last thing on your mind is spelling out your Wi-Fi credentials.
Fortunately, there’s a simple solution! You can easily create a printed QR code that guests can scan to connect to your network. But before we dive into that, let’s discuss how to set up a separate guest network to protect your personal devices from unwanted access.
The Risks of Sharing Your Wi-Fi
When guests connect to your primary Wi-Fi network, they may inadvertently gain access to your personal devices, such as smart TVs, printers, and even your computer or smartphone if file sharing is enabled. This poses a significant risk, especially if a guest’s device is compromised. Setting up a guest network allows you to keep your personal life private while ensuring your guests can still enjoy internet access.
Setting Up Your Guest Network: A Step-by-Step Guide
Most modern routers offer the capability to create a guest network, and you don’t need to be a tech expert to accomplish it. Here’s how to do it in just a few minutes:
Step 1: Access Your Router’s Admin Console
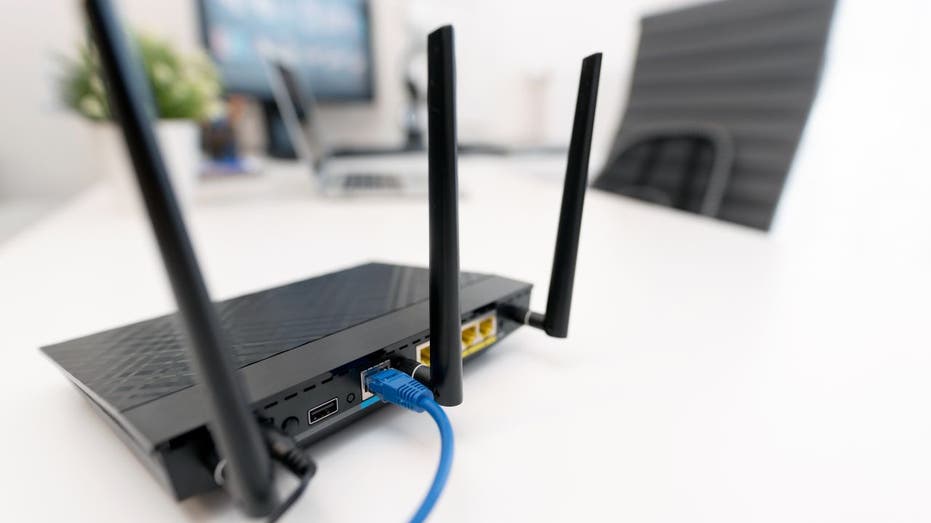
To begin, you’ll need to log into your router’s admin interface. You can usually find your router’s IP address on a sticker located on the bottom or side of the device. Common addresses include 192.168.1.1 or 192.168.0.1. If you can’t locate yours, check your router’s documentation.
Step 2: Log In to Your Router
Open a web browser and enter your IP address in the address bar, preceded by http://. Hit Enter to reach the login page. For most routers, the default username is often “admin” and the default password is “password.” If these don’t work, refer to the sticker on your router or consult online resources that list default passwords for various router models.
Step 3: Create Your Guest Network
Once you’re logged in, look for a setting labeled “Guest Network” or “Guest Wi-Fi.” Assign this network a unique name (SSID) that differentiates it from your primary network, and create a strong, unique password to enhance security.
Pro Tip: Protect Your Privacy
If you have guests who may be overly curious, you can prevent them from accessing your personal files or devices on the primary network. Simply disable the “local access” setting for your guest network.
Strengthening Your Network Security
Your home network is a larger target than you might think. To further secure it, consider performing a quick security check. Ensure that all devices are updated with the latest software and that your main network is protected with a robust password.
Creating a Hassle-Free Connection for Guests
Now for the fun part! You can generate a QR code that allows guests to automatically connect to your new guest network without the hassle of entering a password. Use a free online tool like QIFI.org; all you need to provide are three simple pieces of information:
1. The SSID (network name)
2. The password
3. The encryption type (usually WPA/WPA2)
After hitting “Generate,” you’ll have a QR code ready to print. You can place copies around your home or order a stylish custom sign, making it easy for guests to connect by simply scanning the code.
Empower Yourself with Tech Knowledge
Navigating technology doesn’t have to be overwhelming. By implementing these steps, you can ensure a seamless and secure internet experience for both yourself and your guests.
With the right strategies, you can manage your Wi-Fi like a pro and keep your personal data safe from prying eyes. Enjoy entertaining without the added stress!

