Creating a Staging Environment for Your WordPress Site: A Step-by-Step Guide
When undertaking significant updates or changes to your WordPress site, it’s crucial to ensure that these modifications are tested thoroughly before going live. One effective way to achieve this is by creating a staging environment. This allows you to work on a duplicate of your site where you can test new features or designs without impacting your actual website. In this guide, we’ll outline the steps to set up your own staging environment.
How to Create a Staging Environment
There are generally two methods to create a staging environment for your WordPress site:
- Through your hosting provider
- Using a WordPress plugin
1. Setting Up a Staging Site Through Your Hosting Provider
Your first option is to reach out to your hosting provider. Many hosting companies offer staging environments as part of their services. If your provider supports this feature, they can create a staging site for you, making the process straightforward and user-friendly. However, if your hosting provider does not offer this service, you can opt for the next method.
2. Using a WordPress Plugin to Create a Staging Environment
If your hosting provider cannot assist, you can easily create a staging environment using a WordPress plugin. Here’s how to do it:
Step 1: Find a Reliable Staging Plugin
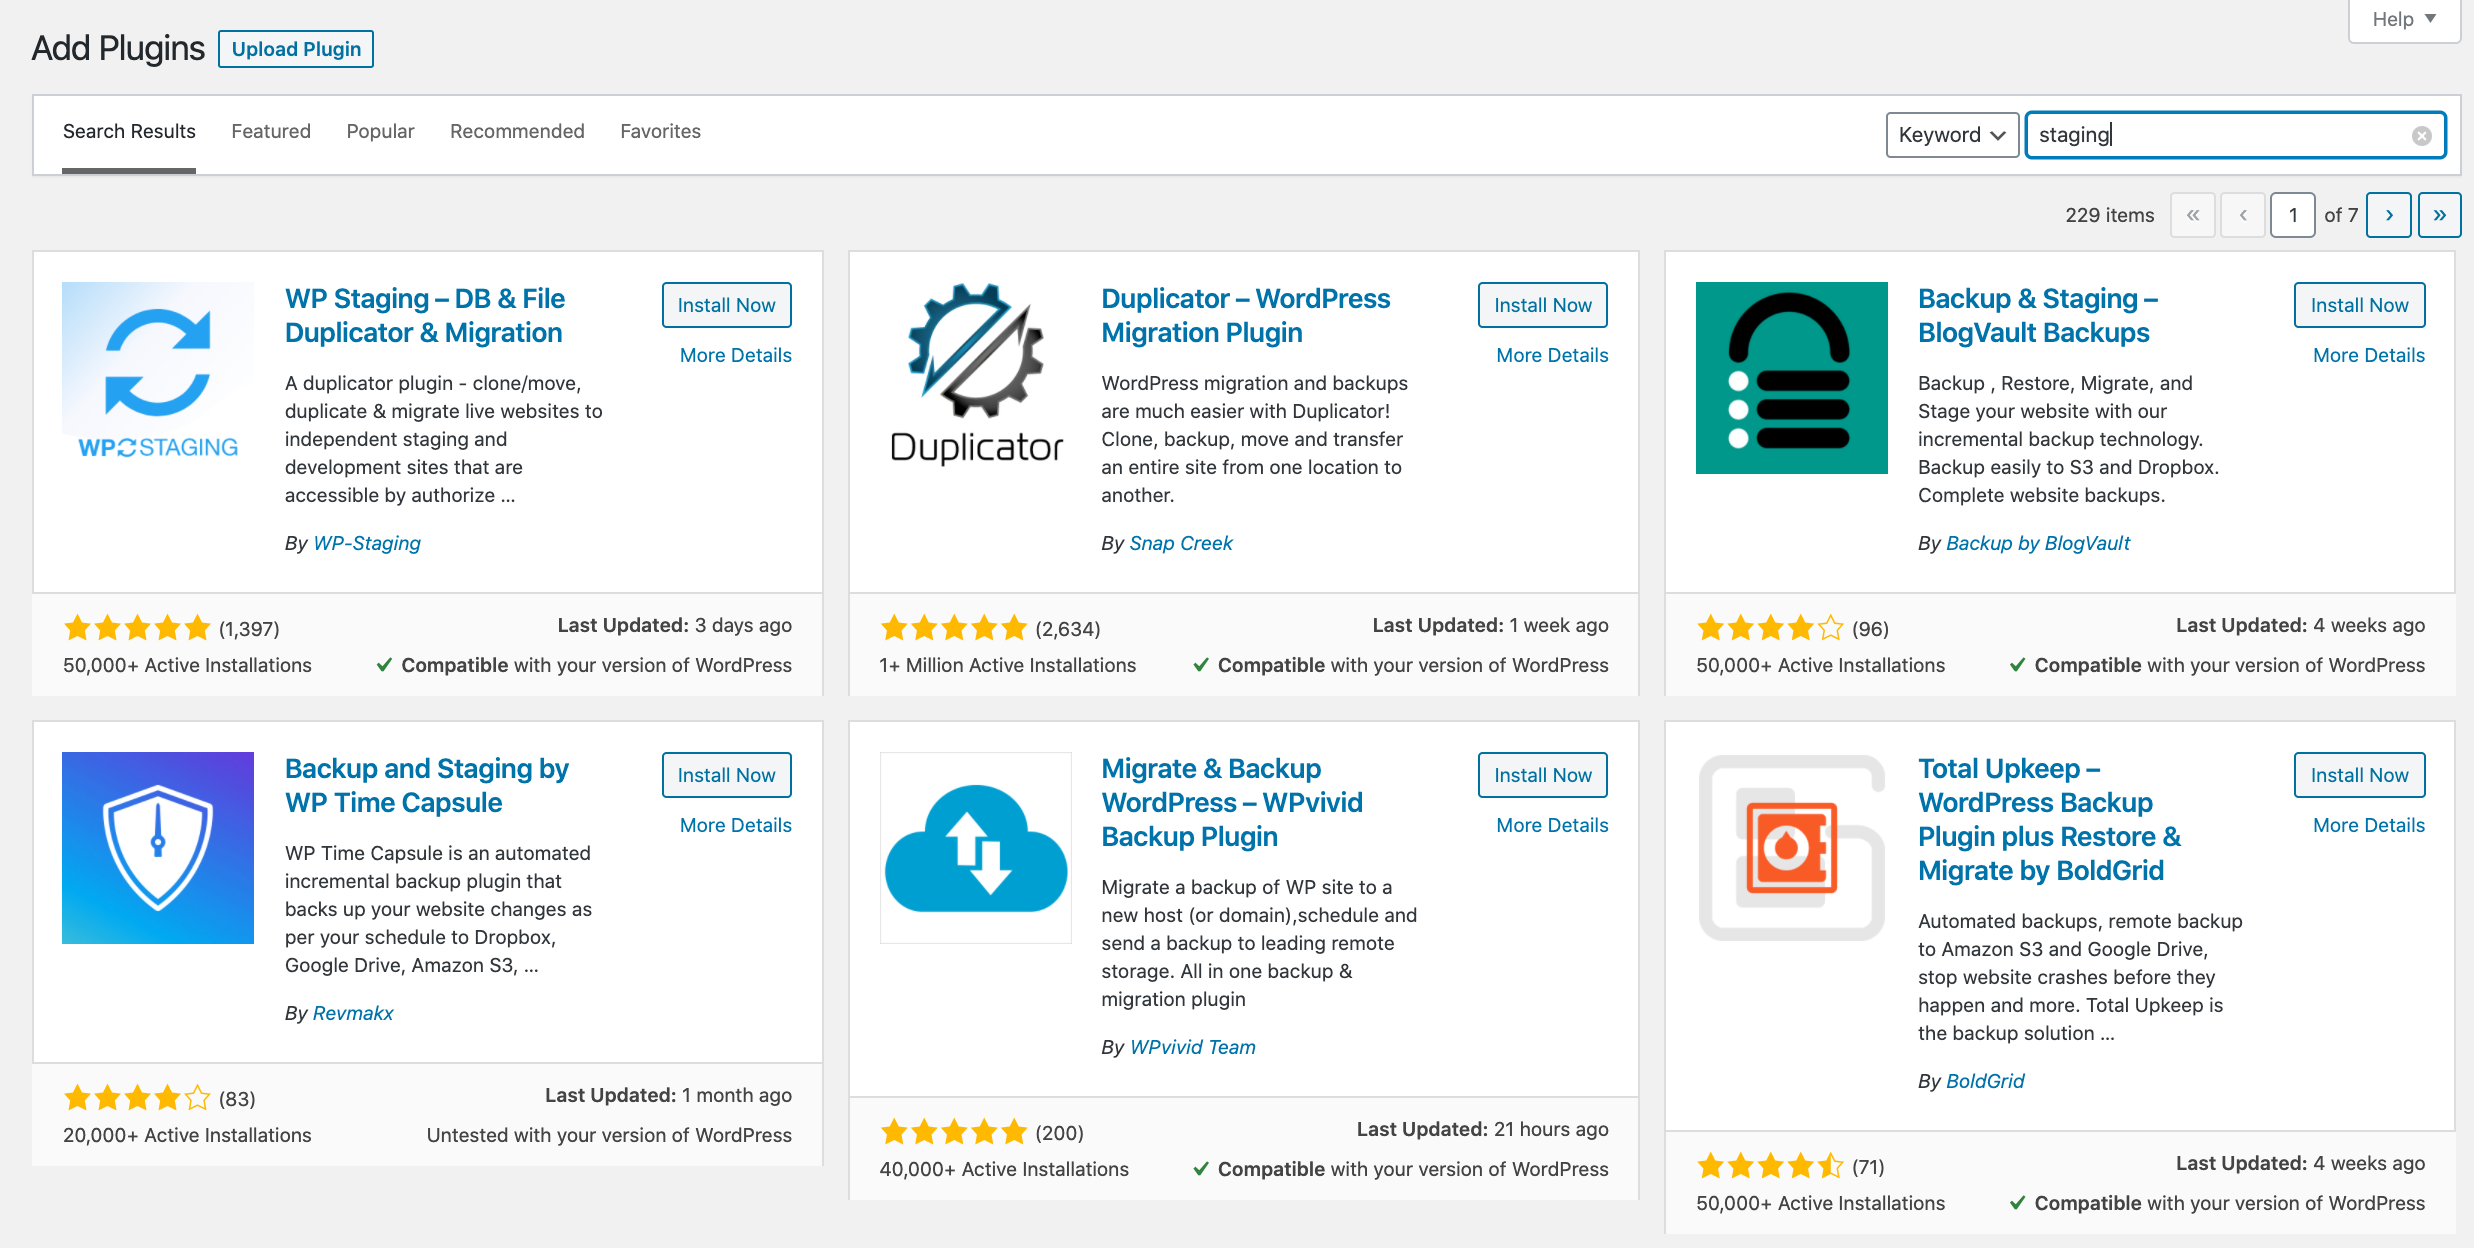
Begin by searching for a suitable plugin in the WordPress plugin directory. A simple search for “staging” will yield various options. When choosing a plugin, consider the following:
- Check user reviews and ratings
- Look at the number of active installations
- Verify how recently the plugin was updated
- Ensure compatibility with your WordPress version
- Evaluate the quality of support offered
Step 2: Backup Your Site
Before creating a staging site, it’s essential to back up your current website. Regular backups are a best practice, especially when making significant changes. If you need guidance on how to back up your WordPress site, there are plenty of resources available.
Step 3: Create the Staging Site Using the Plugin
Once you have backed up your site, you can proceed with creating your staging environment. For example, if you choose the WP Staging plugin, navigate to ‘WP Staging > Sites / Start’ in your admin menu and click on ‘Start Cloning’.
Step 4: Select Files and Start Cloning
After initiating the cloning process, you’ll be prompted to name your staging site and select the files you wish to clone. Click on the ‘Start Cloning’ button to begin the process. The time it takes to clone your site will depend on its size.
Step 5: Access Your Staging Site
Once the cloning is complete, you can access your staging environment by clicking the ‘Open Staging Site’ button. Use the same login credentials as you do for your live site to access the staging area.
Step 6: Begin Testing
The staging environment will mirror your live site, allowing you to navigate and test functionalities with ease. This is your opportunity to experiment with changes and ensure everything works as intended before implementing updates on your live site.
By following these steps, you can create a secure space to test changes, ensuring a smoother and safer update process for your WordPress site.

